
VIVOSUN Durable Waterproof Seedling Heat Mat 10" x 20.75" UL & MET-Certified Warm Hydroponic Heating Pad for Germination, Indoor
- Reliable Results: The VIVOSUN professional heat mat maintains optimal temperatures around 68-86℉ (20-30℃).
- Stable & Uniform Heat: The advanced far-infrared heating technology of this heat pad provides your plant.
- Built to Last: Designed with soft, flexible, and ultra-lasting material, this warming mat goes beyond.
- Multiple Uses: This 10" x 20.75" heating pad with a 5.9ft power cord is suitable for standard 1020 trays.

BN-LINK Seedling Heat Mat with Thermostat Controller Combo Set, 10" x 20.75" Plant Heating Mat for Seed Starting with Temperature
- ✓ Consistent & Uniform Heating: BN-LINK seedling heat mat maintains temperatures around 70 to 85℉, creating.
- ✓ Durable & Waterproof: This plant heating pad for indoor growing is made with flexible, multi-layer PVC.
- ✓ Precise Temperature Control: BN-LINK heat mat thermostat controller features an easy 3-button interface.
- ✓ Wide Application: This heat mat and thermostat controller combo ensures a stable, controlled temperature.

Simple Deluxe Clamp Lamp Light Socket with 10.5 Inch Aluminum Reflector and Bulb Guard, Suit for Max 250 Watt Lamp (No Bulb
- Multifunctional: The clamp light can be used for common lighting in rooms, garages, art studios, or by.
- Unique design: The ball joint connection can be adjusted 360 degrees for the direction of the light can be.
- Firm clamp grips: Strong double-swivel clamp have stronger clamping grips guarantees the lamp will stay in.
- Specifications: 10.5-inch adjustable aluminum reflector could focus positioning the light direction you.
You have fertile chicken eggs, but no broody hen and no electric incubator. This situation presents a unique challenge for hatching chicks. While specialized incubators offer the most consistent results, it is possible to hatch chicken eggs without one, or without a hen, using a DIY setup. The process demands diligence and attention to detail, but the reward of seeing new chicks emerge is significant.
Many backyard chicken keepers find themselves in this position, either due to an unexpected clutch of fertile eggs, a hen that abandoned her nest, or simply a desire to try a more hands-on approach. Learning how to incubate chicken eggs without an incubator means understanding and controlling temperature, humidity, and egg turning, just as a mother hen would. This method focuses on creating a stable environment using readily available materials.
Gathering Your DIY Incubation Supplies
Successfully hatching a chicken egg without an incubator or hen begins with the right setup. You will need to create an environment that mimics the constant warmth and humidity of a hen's nest. This list provides the essential items:
- Container: A large plastic storage bin with a lid, a sturdy cardboard box, or even an old cooler can work. It needs to be large enough to hold your eggs with some air circulation space.
- Heat Source: A reliable source of consistent, low heat is critical. Options include a seedling heat mat, a low-wattage incandescent bulb in a clamp lamp, or even warm water bottles (though these require frequent changing).
- Thermometer: An accurate thermometer is non-negotiable. Digital thermometers with probes are ideal for monitoring the exact temperature at egg level.
- Hygrometer: This device measures humidity. Fluctuations can harm the developing embryo. Seedling heat mats are an excellent choice for a DIY incubator because they provide gentle, even heat. The VIVOSUN Durable Waterproof Seedling Heat Mat, for example, maintains optimal temperatures in the 68-86℉ range, which is good for warming the container. For more precise control, pairing a heat mat with a thermostat controller, like the BN-LINK Seedling Heat Mat with Thermostat Controller Combo Set, allows you to set and maintain the exact temperature needed for incubation. The BN-LINK mat provides consistent and uniform heating around 70 to 85℉, with the thermostat offering precise control.
Alternatively, a Simple Deluxe Clamp Lamp Light Socket with a low-wattage incandescent bulb (e.g., 25-40 watts) can serve as a heat source. Position the lamp above the container, adjusting its height to achieve the correct temperature. Always make sure the bulb is not directly touching any flammable materials.
Preparing Your DIY Incubator Setup
Once you have your supplies, setting up the incubation environment is the next step. This is how you take care of chicken eggs without an incubator by creating a stable microclimate.
-
Assemble the Container
Place your chosen container in a location with stable room temperature, away from drafts or direct sunlight. If using a plastic bin, drill a few small holes (about 1/4 inch) around the top and bottom edges for minimal ventilation. Too much ventilation will make it hard to maintain humidity and temperature. Line the bottom with a soft cloth or a very shallow layer of sawdust to cushion the eggs.
-
Install the Heat Source and Monitoring Devices
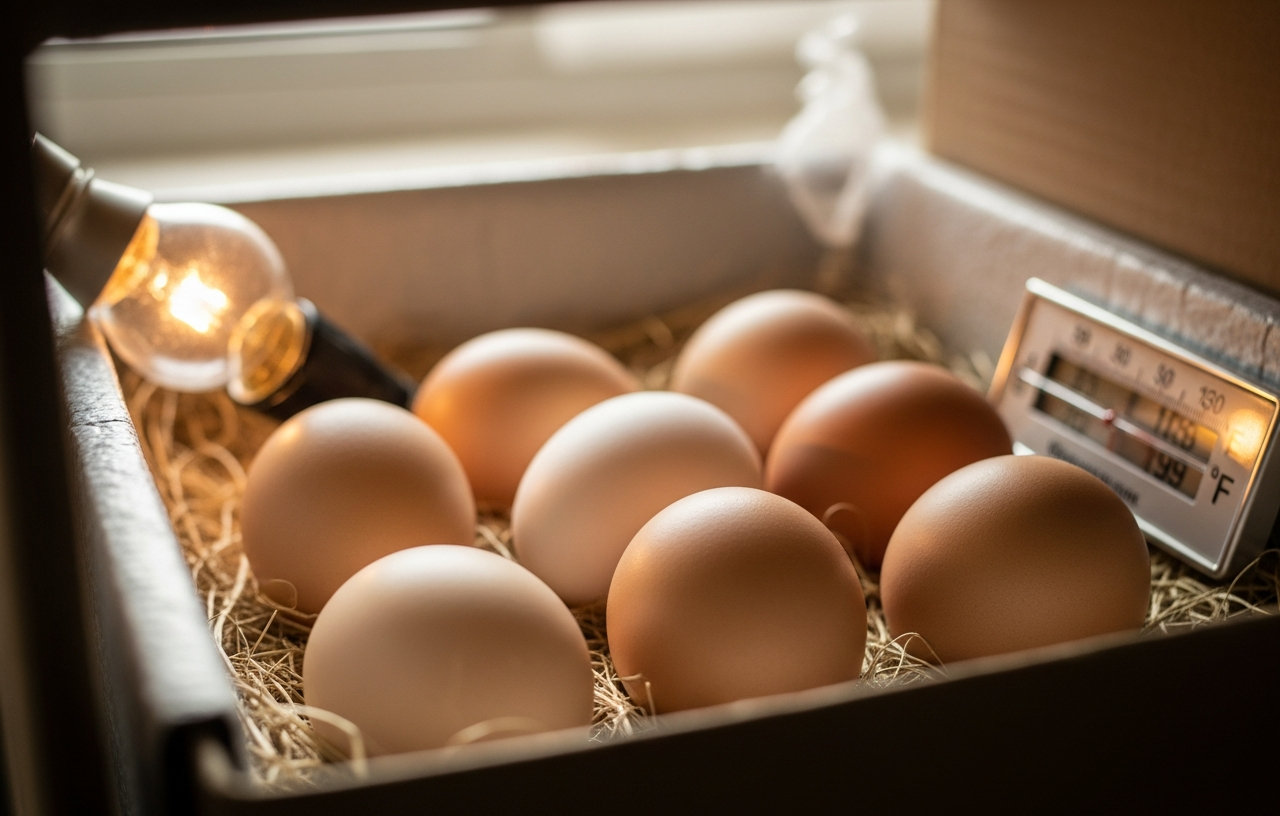
Position your heat mat under the container or adhere it to one side. If using a clamp lamp, secure it above the container. Place your thermometer and hygrometer inside the container, ensuring the thermometer probe is at egg level. Allow the setup to run for several hours, or even a full day, before adding eggs. This 'dry run' lets you stabilize the temperature and humidity. Adjust your heat source as needed until the temperature consistently reads between 99.5 and 102 degrees Fahrenheit and humidity is around 40-50%.
-
Add Humidity
Place a shallow dish of water inside the container. Adding a sponge to the dish increases the surface area for evaporation, helping to raise humidity. Monitor the hygrometer and adjust the water level or sponge size to maintain the desired humidity range. For the final three days before hatching (lockdown), you will need to increase humidity to 65-75%.
Incubating the Eggs: step by step
Knowing how to hatch a chicken egg without an incubator involves a daily commitment. The incubation period for chicken eggs is typically 21 days. Consistency is the most important factor.
-
Select and Place Eggs (Day 1)
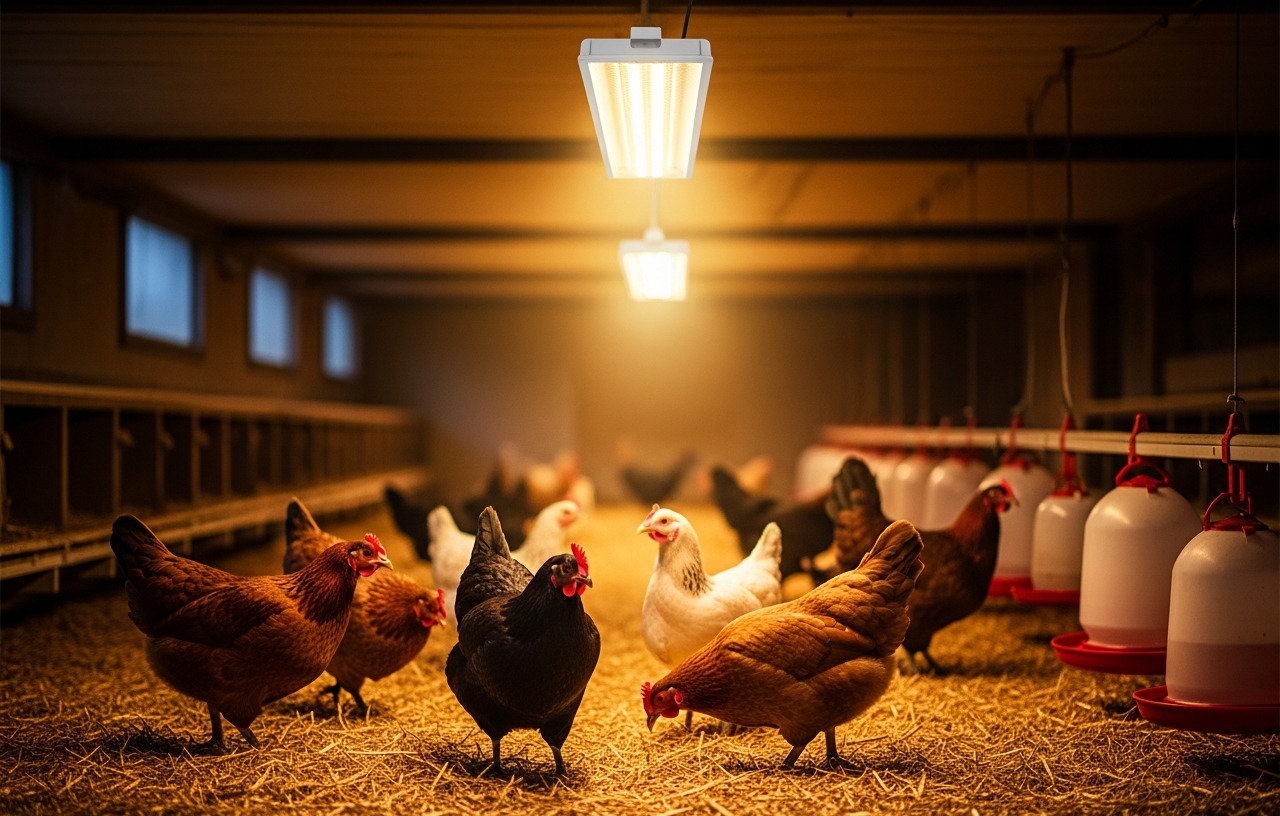
Choose clean, fertile eggs. Avoid eggs that are cracked, misshapen, or excessively dirty. Use a pencil to mark an 'X' on one side and an 'O' on the opposite side of each egg. This helps you keep track of turning. Carefully place the eggs in your prepared container, making sure they are not touching each other too tightly. You can learn more about selecting quality eggs by considering factors that influence hen health and laying, which can impact egg viability. Chicken coop lighting, for example, plays a role in egg production.
-
Turning the Eggs (Days 1-18)
A hen naturally turns her eggs many times a day. You need to replicate this. Turn each egg at least three times a day, but ideally five times, every day, from day 1 through day 18. Each turn should rotate the egg by approximately 180 degrees. The 'X' and 'O' marks will guide you. Turning prevents the embryo from sticking to the shell membrane and helps with nutrient distribution. Wash your hands thoroughly before and after handling the eggs to prevent transferring oils or bacteria.
-
Candling the Eggs (Days 7 and 14)
Candling involves shining a bright light through the egg to observe the embryo's development. On day 7, in a dark room, hold a bright flashlight (or a specialized egg candler) to the large end of the egg. You should see a network of blood vessels and a small dark spot, which is the embryo. By day 14, the embryo will be much larger, filling a significant portion of the egg, and you might even see movement. Eggs that show no development should be removed from the incubator, as they can rot and contaminate the others.
-
Lockdown Period (Days 18-21)
On day 18, stop turning the eggs. This is known as 'lockdown'. During this phase, the chicks orient themselves for hatching. Increase the humidity to 65-75% by adding more water to the dish or misting the container's interior with warm water several times a day. Do not open the container unnecessarily during lockdown. Stable humidity is vital for chicks to break through the shell without getting 'shrink-wrapped'.
-
Hatching and Post-Hatch Care (Days 21+)
Hatching can take anywhere from 12 to 24 hours per chick once the first 'pip' (a small crack in the shell) appears. Resist the urge to assist a chick unless it is clearly struggling for many hours with no progress. Interference can do more harm than good. Once a chick has fully hatched and dried off (which can take several hours), carefully move it to a pre-warmed brooder. A brooder is a safe, warm space for chicks. For guidance on setting up this critical environment, refer to our article on Raising Baby Chicks: Everything You Need the First 8 Weeks. You might also find our guide on Best Chick Starter Kits helpful.
Challenges and Considerations for Hatching Eggs Without an Incubator
While learning how to hatch eggs without an incubator or hen offers a rewarding experience, it comes with specific challenges. Maintaining consistent temperature and humidity is significantly harder in a homemade setup compared to a purpose-built machine. Small fluctuations can drastically reduce hatch rates.
Temperature Stability
Your DIY setup might experience temperature gradients, meaning some areas are warmer or cooler than others. Place your thermometer probe at the level of the eggs and move it around occasionally to check for hot or cold spots. If you notice significant variations, adjust your heat source or add insulation to your container.
Humidity Management
Evaporation rates can change with room temperature and humidity. Regularly check your hygrometer and replenish the water dish as needed. During lockdown, the increased humidity is critical; misting the inside of the container can help, but avoid misting the eggs directly.
Ventilation
Embryos need fresh air. The small holes mentioned earlier provide minimal ventilation. If you notice a stale smell or excessive condensation, you might need to add one or two more small holes, but do so cautiously to avoid losing too much heat or humidity.
Time and Commitment
This method requires a high level of dedication. Daily turning, multiple temperature and humidity checks, and careful monitoring during hatching are essential. This is not a 'set it and forget it' process. If constant manual intervention seems too demanding, exploring options for best egg incubators might be a more suitable path.
Consistency is the single most important factor when attempting to incubate eggs without a commercial machine. Every degree of temperature, every percentage point of humidity, and every turn of the egg contributes to the embryo's chances of survival. Deviations from the ideal can lead to weakened chicks or failed hatches.
Summary of Incubation Essentials
Successfully incubating chicken eggs without an incubator relies on a few core principles. First, select the healthiest, cleanest eggs available. Second, build a stable environment that precisely controls temperature (99.5-102°F) and humidity (40-50% for days 1-18, 65-75% for lockdown). Third, turn the eggs consistently multiple times a day for the first 18 days. While challenging, hatching eggs using a homemade setup offers a deeply rewarding experience for the dedicated backyard chicken keeper. With patience, attention to detail, and the right homemade tools, you can achieve a successful hatch.
Our Recommendation🏆 TOP PICK
VIVOSUN Durable Waterproof Seedling Heat Mat 10" x 20.75" UL & MET-Certified Warm Hydroponic Heating Pad for Germination, Indoor
Check Price on Amazon- Reliable Results: The VIVOSUN professional heat mat maintains optimal temperatures around 68-86℉ (20-30℃).
- Stable & Uniform Heat: The advanced far-infrared heating technology of this heat pad provides your plant.
- Built to Last: Designed with soft, flexible, and ultra-lasting material, this warming mat goes beyond.
- Multiple Uses: This 10" x 20.75" heating pad with a 5.9ft power cord is suitable for standard 1020 trays.
BN-LINK Seedling Heat Mat with Thermostat Controller Combo Set, 10" x 20.75" Plant Heating Mat for Seed Starting with Temperature
Check Price on Amazon- ✓ Consistent & Uniform Heating: BN-LINK seedling heat mat maintains temperatures around 70 to 85℉, creating.
- ✓ Durable & Waterproof: This plant heating pad for indoor growing is made with flexible, multi-layer PVC.
- ✓ Precise Temperature Control: BN-LINK heat mat thermostat controller features an easy 3-button interface.
- ✓ Wide Application: This heat mat and thermostat controller combo ensures a stable, controlled temperature.
Simple Deluxe Clamp Lamp Light Socket with 10.5 Inch Aluminum Reflector and Bulb Guard, Suit for Max 250 Watt Lamp (No Bulb
Check Price on Amazon- Multifunctional: The clamp light can be used for common lighting in rooms, garages, art studios, or by.
- Unique design: The ball joint connection can be adjusted 360 degrees for the direction of the light can be.
- Firm clamp grips: Strong double-swivel clamp have stronger clamping grips guarantees the lamp will stay in.
- Specifications: 10.5-inch adjustable aluminum reflector could focus positioning the light direction you.
-