
Incu-Bright™ Ultra Bright LED Egg Candler - Portable Light for All Egg Sizes - Identifies Developing and Non-Developing Eggs -
- 𝐒𝐔𝐏𝐄𝐑 𝐁𝐑𝐈𝐆𝐇𝐓 𝐋𝐈𝐆𝐇𝐓: The Incu-Bright Ultra Bright LED Egg Candler is an essential tool for anyone.
- 𝐃𝐔𝐑𝐀𝐁𝐋𝐄 𝐂𝐎𝐍𝐒𝐓𝐑𝐔𝐂𝐓𝐈𝐎𝐍: Besides the high performance, this portable egg light is built to last. The durable.
- 𝐂𝐎𝐑𝐃𝐋𝐄𝐒𝐒 𝐀𝐍𝐃 𝐏𝐎𝐑𝐓𝐀𝐁𝐋𝐄: Our portable egg light is designed with practicality in mind, the cordless and.
- 𝐎𝐍𝐄-𝐘𝐄𝐀𝐑 𝐆𝐔𝐀𝐑𝐀𝐍𝐓𝐄𝐄: As an Incubator Warehouse exclusive, this portable light is crafted with superior.

Magicfly Bright Cool LED Light Egg Candler Tester, Powered Only by Power Supply
- Brand new, Powered by Power Supply (Not rechargeable)
- Fast Safe Extremely easy, High Lumens Egg Candler Cool light !
- Long Electric Cable with American Plug, Very Durable with easy on and off button
- This candle Light will let you see the fertilized eggs by showing a dark spot and veins at the beginning.

HBlife Egg Candler Wireless Rechargeable LED Bright Cool Light, Egg Candler Tester for Monitoring Eggs Development with 2 Soft
- This candler can be used directly after charging without plugging in which is easy to carry and can be.
- Perfect for students, home hatchers, and even the new, the egg candler is easy to use, with a helpful.
- Gain precise insights into the fertility and development of each egg with our powerful egg candler. The.
- Adapt to various egg sizes effortlessly with our egg candler's flexible attachments featuring soft rubber.
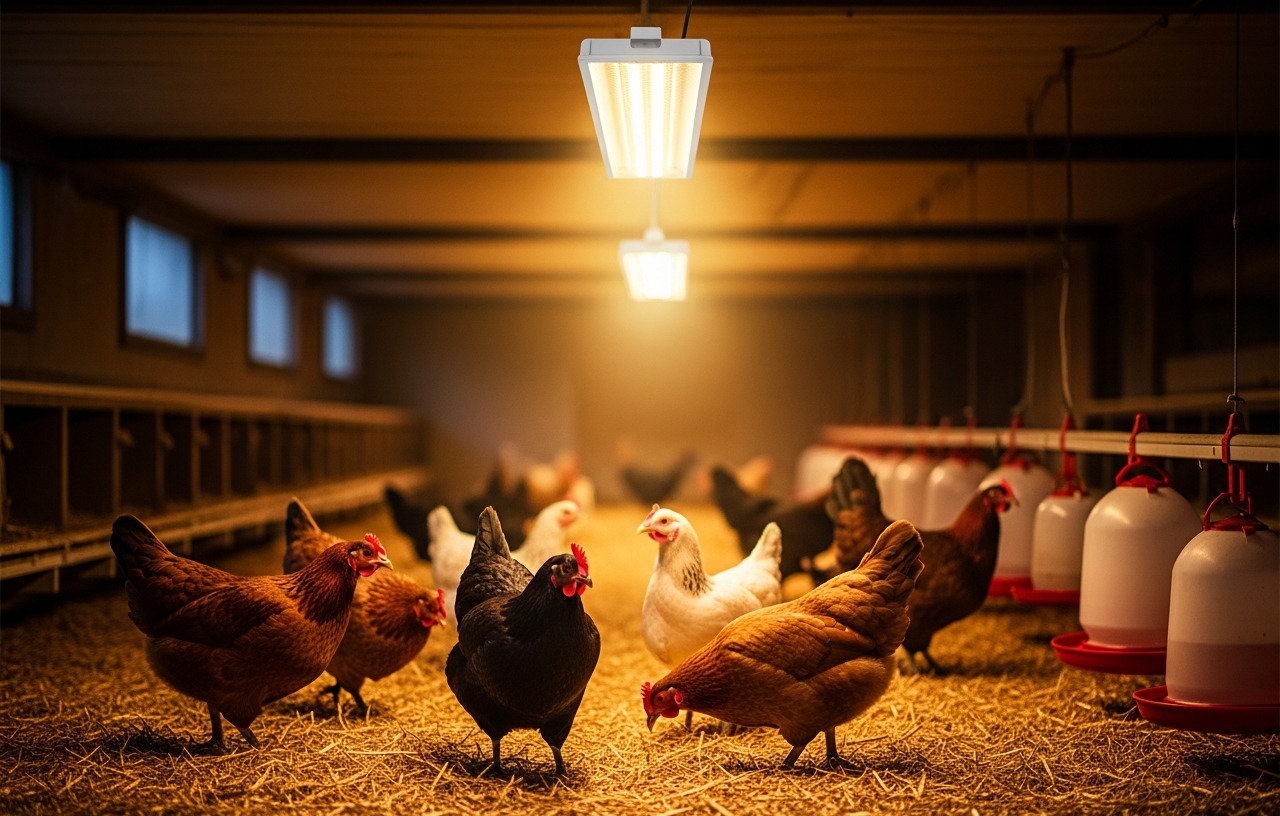
Hatching chicken eggs requires careful monitoring of their development. Candling, the process of shining a bright light through an egg, helps identify which eggs are fertile and developing, and which are not. Removing non-viable eggs improves hatch rates and prevents potential contamination, making the entire incubation process more successful for backyard chicken keepers.
What is Egg Candling and Why Do It?
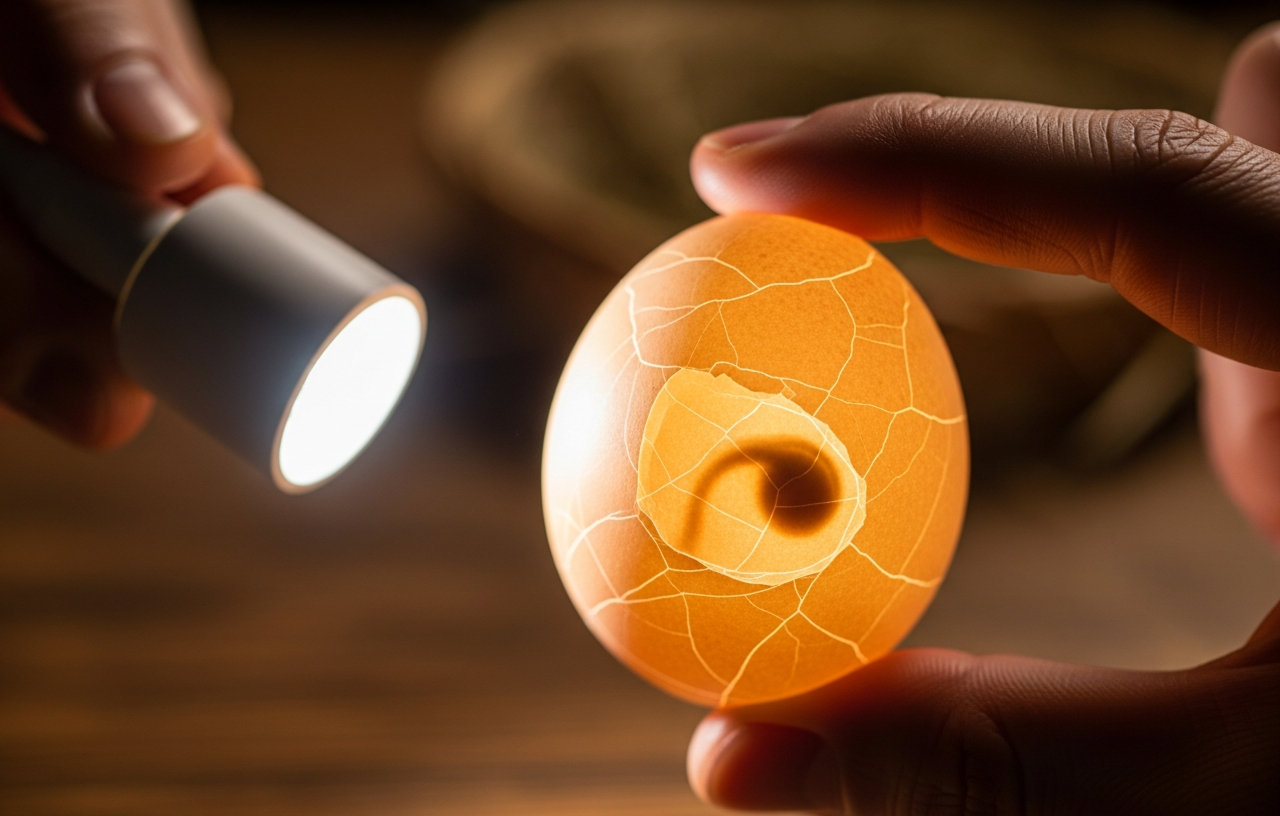
Egg candling is a technique where a strong light source is used to illuminate the inside of an egg, allowing you to see the embryo's development. The term 'candling' comes from the historical practice of holding eggs up to a candle flame.
There are several reasons why you should candle chicken eggs during incubation:
- Check Fertility: Determine if an egg is fertile and if an embryo has started to develop.
- Monitor Development: Observe the growth and health of the embryo over time.
- Remove Non-Viable Eggs: Identify and remove infertile eggs or those with dead embryos. This is important because a rotten egg can explode in an incubator, spreading bacteria and potentially harming healthy developing chicks.
- Improve Hatch Rates: By removing non-viable eggs, you create more space and maintain better hygiene within the incubator, which can positively impact the hatch rate of the remaining viable eggs.
Tools You Will Need
The primary tool for candling is a good egg candler. While a strong flashlight can work in a pinch, a dedicated egg candler provides a focused, bright beam that penetrates the shell effectively.
- Egg Candler: Look for one with a bright LED light. For robust shells, especially brown chicken eggs, a powerful candler like the Incu-Bright™ Ultra Bright LED Egg Candler becomes invaluable. This cordless and portable tool is also built to last, making it a reliable choice for repeated use. Another strong contender is the Magicfly Bright Cool LED Light Egg Candler Tester. It offers high lumens and a cool light, ensuring the egg isn't overheated during inspection. This model is powered by a power supply, offering consistent light without battery concerns. The HBlife Egg Candler Wireless Rechargeable LED Bright Cool Light provides wireless convenience with its rechargeable LED light. It's designed for portability and ease of use, making it suitable for students or new hatchers who need precise insights into egg development.
- Dark Room: A completely dark room is essential to clearly see the internal structures of the egg.
- Gloves (Optional): Clean gloves can prevent the transfer of oils and bacteria from your hands to the eggshell.
- Pen or Pencil: For marking eggs after candling.
When to Candle Chicken Eggs
Knowing how many days to candle chicken eggs and how often to candle chicken eggs is key to successful incubation. Candling too early might not reveal much, while candling too late might miss critical issues.
First Candling: Day 3-5
This is the earliest you can typically see signs of development. Look for a small, dark spot (the embryo) and fine, spider-like blood vessels radiating from it. If the egg is completely clear, it's likely infertile.Second Candling: Day 7-10
By this stage, development should be much more evident. The embryo will be larger, and the network of blood vessels will be more extensive. You might even see movement if you hold the egg still for a moment. This is a good time to confirm healthy growth.Third Candling: Day 14-18 (Optional)
Around this time, the embryo will have grown considerably, filling much of the egg. You might see a dark mass with a defined air sac. This candling helps confirm the chick is still developing before the 'lockdown' phase, when the incubator is no longer opened. It's a good practice to stop turning the eggs and increase humidity during this period. For more on setting up your incubation, see our guide on the best egg incubators for backyard chickens.
Avoid candling more often than necessary. Each time you handle the eggs, you introduce a risk of temperature fluctuations or accidental damage. Limit handling to quick, efficient checks.
How to Candle Chicken Eggs: A step by step Process
Follow these steps to effectively candle your chicken eggs for fertility and development.
Step 1: Prepare Your Candling Space
Find a room that can be made completely dark. Dim the lights or turn them off entirely before you begin. Place your egg candler on a stable surface.
Step 2: Handle Eggs with Care
Wash your hands thoroughly or wear clean gloves. Gently retrieve eggs from the incubator. Hold each egg carefully between your thumb and forefinger. Avoid shaking or dropping the eggs, as this can damage the delicate embryo. Work quickly to minimize the time eggs are out of the incubator.
Step 3: Position the Egg on the Candler
Place the larger, blunt end of the egg (where the air sac is located) against the opening of the candler. This allows the light to shine through the egg. If your candler has different sized adapters, select the one that best fits your egg, ensuring minimal light leakage.
Step 4: Observe the Interior
In the dark room, turn on the candler. Rotate the egg slowly to get a full view of its contents. Pay close attention to the center and the edges. It helps to slightly tilt the egg while rotating it; this motion can cause the embryo or yolk to shift, making it easier to spot.
Step 5: Interpret Your Findings
What you see inside the egg tells you about its fertility and development. This is where understanding how do you candle a chicken egg truly comes into play.
Signs of a Fertile, Developing Egg:
- Day 3-5: Look for a small, dark spot (the embryo) and fine, red spider-like veins radiating outwards. The air sac will be visible at the blunt end as a clear, defined area.
- Day 7-10: The embryo will be larger and more defined, appearing as a dark mass. The vascular network (blood vessels) will be more extensive and noticeable. You might observe slight movements if you watch closely.
- Day 14-18: The egg will appear mostly dark, filled with the growing chick. The air sac will have noticeably expanded, and you may see the chick moving within the egg.
Signs of an Infertile Egg (Clear):
- The egg remains completely clear, looking exactly like a fresh, unincubated egg. There are no signs of a dark spot, veins, or any development.
- Sometimes, a faint shadow of the yolk might be visible, but no organized structures.
Signs of a Dead Embryo:
- Blood Ring: A distinct red ring visible inside the egg indicates that an embryo started to develop but died early on. The blood vessels form a ring as the embryo stops growing and the blood separates.
- Reddish Smear or Streaks: This can also indicate an early embryonic death or sometimes contamination.
- No Visible Movement or Growth: If, after several days, an egg that previously showed development suddenly stops showing growth or movement, the embryo may have died. The blood vessels might appear faded or stagnant.
- Dark Mass with No Distinct Features: In later stages, a dead embryo might appear as a dark, unmoving mass without the clear vascular network or defined air sac expansion of a healthy chick.
Step 6: Mark and Return or Remove Eggs
After inspecting each egg, use a pencil to mark those that are developing well (e.g., with an 'X' or the date). If an egg is clearly infertile or has a dead embryo, remove it from the incubator immediately. Do not return non-viable eggs to the incubator. Return healthy, developing eggs to the incubator as quickly and gently as possible.
Candling Brown Chicken Eggs
Candling brown chicken eggs presents a slight challenge compared to white eggs due to their thicker, often darker shells. The process for how to candle brown chicken eggs is the same, but you will need a more powerful candler. A high-lumen LED candler is essential to penetrate the darker pigment. You might also need to be in an even darker room to make out the internal details. Patience is key when candling brown eggs, as the signs of development can be more subtle.
What Happens Next?
Once your chicks hatch, you will need to care for them properly. Our article on raising baby chicks: everything you need the first 8 weeks provides detailed information on brooding, feeding, and keeping your new flock healthy.
Conclusion
Learning how to candle chicken eggs is a simple yet powerful skill for any backyard chicken keeper. It allows you to actively participate in the incubation process, ensuring that only viable embryos continue to develop. By removing non-viable eggs, you safeguard your entire hatch, leading to healthier chicks and a more rewarding experience. With a good candler and a little practice, you can confidently monitor the progress of your future flock.
Incu-Bright™ Ultra Bright LED Egg Candler - Portable Light for All Egg Sizes - Identifies Developing and Non-Developing Eggs -
- 𝐒𝐔𝐏𝐄𝐑 𝐁𝐑𝐈𝐆𝐇𝐓 𝐋𝐈𝐆𝐇𝐓: The Incu-Bright Ultra Bright LED Egg Candler is an essential tool for anyone.
- 𝐃𝐔𝐑𝐀𝐁𝐋𝐄 𝐂𝐎𝐍𝐒𝐓𝐑𝐔𝐂𝐓𝐈𝐎𝐍: Besides the high performance, this portable egg light is built to last. The durable.
- 𝐂𝐎𝐑𝐃𝐋𝐄𝐒𝐒 𝐀𝐍𝐃 𝐏𝐎𝐑𝐓𝐀𝐁𝐋𝐄: Our portable egg light is designed with practicality in mind, the cordless and.
- 𝐎𝐍𝐄-𝐘𝐄𝐀𝐑 𝐆𝐔𝐀𝐑𝐀𝐍𝐓𝐄𝐄: As an Incubator Warehouse exclusive, this portable light is crafted with superior.
Magicfly Bright Cool LED Light Egg Candler Tester, Powered Only by Power Supply
- Brand new, Powered by Power Supply (Not rechargeable)
- Fast Safe Extremely easy, High Lumens Egg Candler Cool light !
- Long Electric Cable with American Plug, Very Durable with easy on and off button
- This candle Light will let you see the fertilized eggs by showing a dark spot and veins at the beginning.
HBlife Egg Candler Wireless Rechargeable LED Bright Cool Light, Egg Candler Tester for Monitoring Eggs Development with 2 Soft
- This candler can be used directly after charging without plugging in which is easy to carry and can be.
- Perfect for students, home hatchers, and even the new, the egg candler is easy to use, with a helpful.
- Gain precise insights into the fertility and development of each egg with our powerful egg candler. The.
- Adapt to various egg sizes effortlessly with our egg candler's flexible attachments featuring soft rubber.